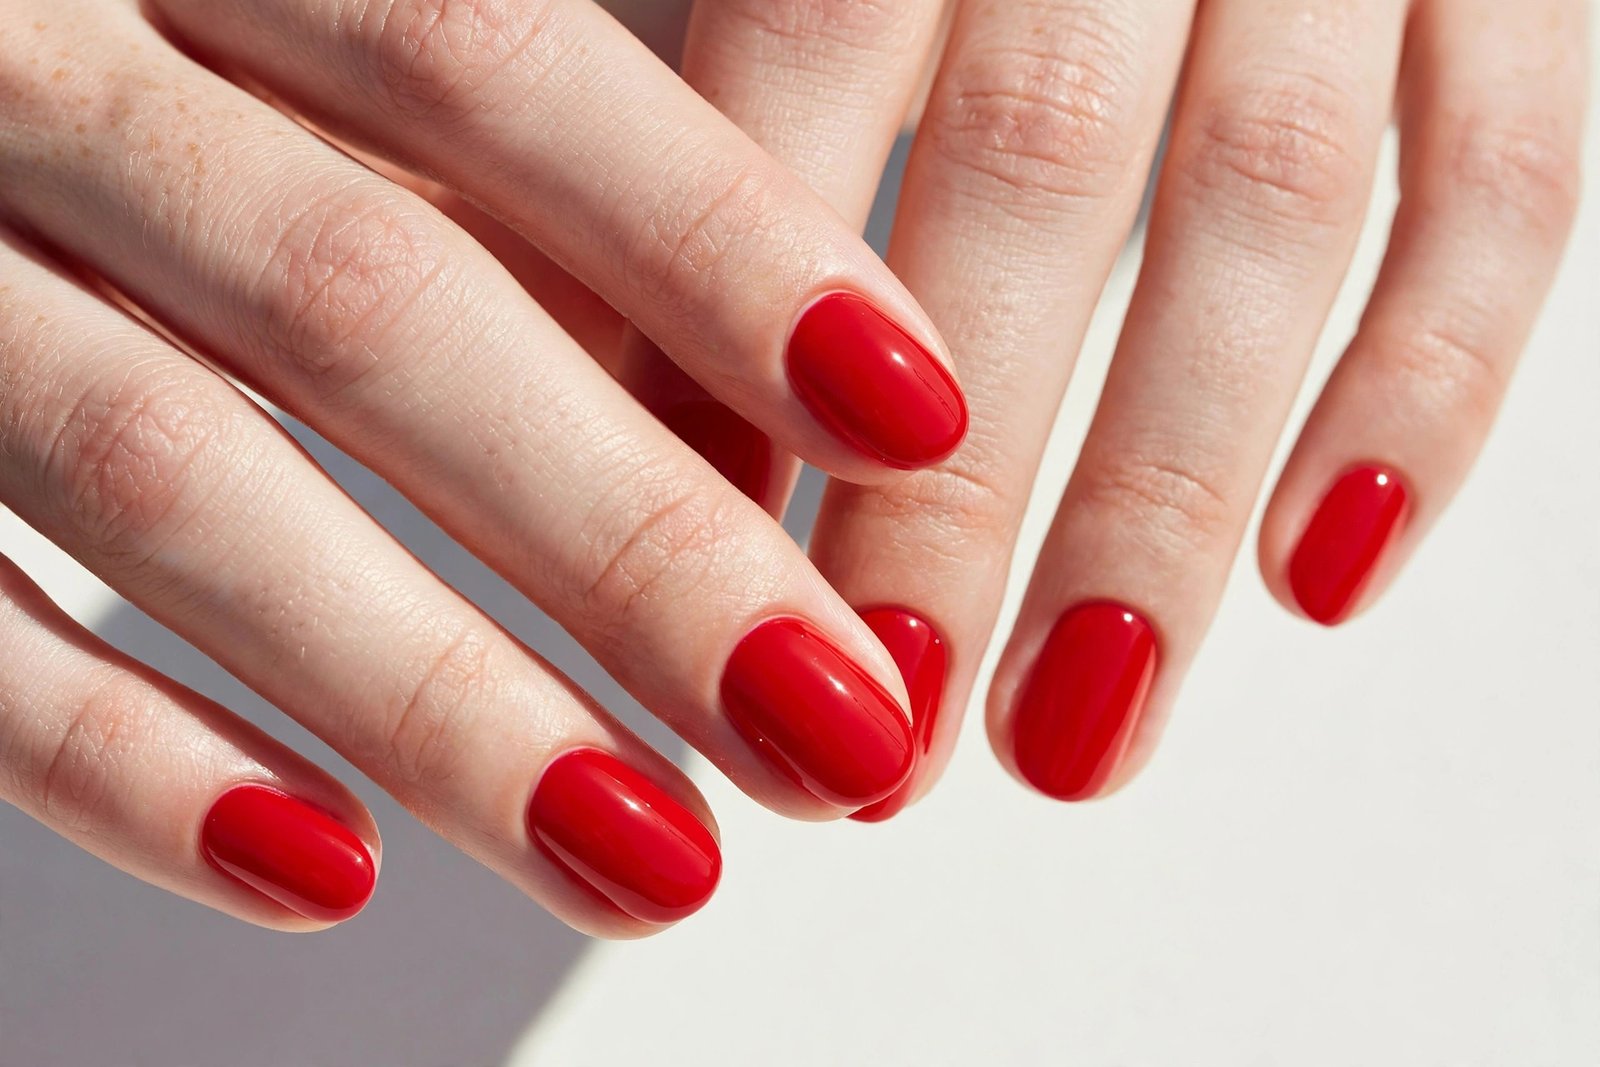
Gel nails used to mean a trip to the salon, but with a small home kit you can now get the same glossy, long-lasting finish at your kitchen table. DIY gel nails at home last two to three weeks without chipping, they look glossy in every photo, and they cost a fraction of a salon visit. The process is simple once you understand the steps, and this guide will walk you through everything from the tools you need to the mistakes to avoid, so your first homemade gel manicure turns out beautifully.
Below you will find a complete beginner’s guide to DIY gel nails at home, with preparation, a full step-by-step method, common mistakes, aftercare, and answers to the questions every beginner asks.
What You Need for DIY Gel Nails
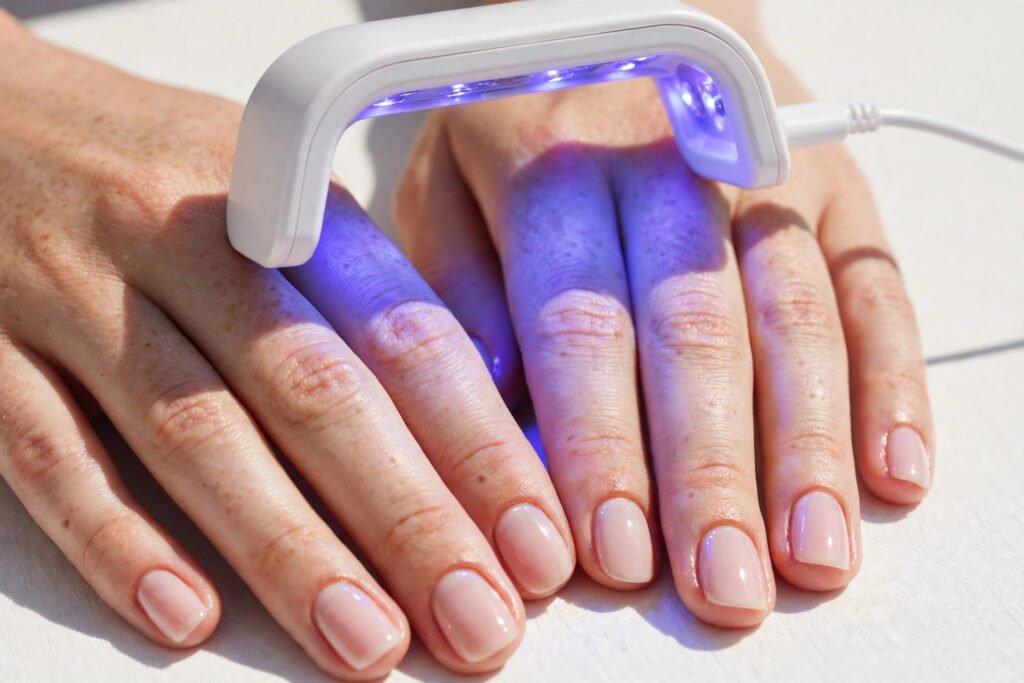
Before you start, gather everything in one place so you are not searching for tools with wet polish on your nails. You will need a nail file and a buffer block, a cuticle pusher and cuticle oil, a bottle of nail polish remover and lint-free wipes, a gel base coat, gel color polish, and a gel top coat. The most important piece of equipment is a UV or LED lamp, which cures the gel and makes it hard; a small LED lamp is affordable and works for most home kits. A cuticle nipper is useful but optional, and a small brush dipped in remover is handy for cleaning up the edges. Keep a bottle of hand cream nearby for aftercare, and work on a clean, flat surface with good light so you can see what you are doing.
Preparing Your Nails
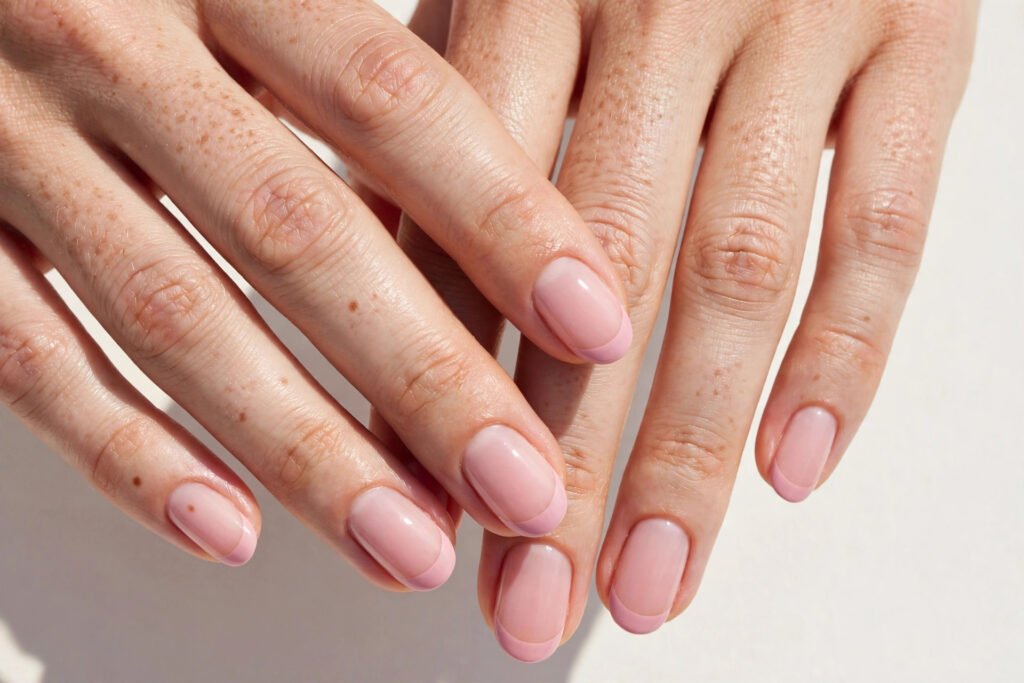
Good preparation is the secret to gel nails that last. Start by removing any old polish completely with remover and a lint-free wipe, then wash and dry your hands. Gently push back your cuticles with a cuticle pusher, taking care not to cut or tear the skin, since damaged cuticles can make gel lift and peel. Shape your nails with a file, working in one direction rather than sawing back and forth, and choose a shape that suits your hands, such as oval, square, or almond. Next, buff the surface of each nail very lightly with a buffer block to remove the shine and give the gel something to grip; you only need a few gentle strokes, so do not over-buff or thin the nail. Finally, wipe each nail with a lint-free pad dampened with remover or alcohol to remove dust and oils, and do not touch the nail surface after this step, since the oils from your fingers can stop the gel from sticking properly.
Step-by-Step: DIY Gel Nails at Home
Follow these steps in order, and take your time with each one. Gel is forgiving while it is wet, but once it is cured under the lamp, mistakes are much harder to fix.
Step 1: Apply a Thin Base Coat
Paint a very thin layer of gel base coat over each nail, keeping the polish away from your cuticles and the skin around the nail. A thin layer is essential, since thick gel will not cure properly and can peel off in sheets. Cap the free edge by brushing a tiny amount of base coat along the tip of each nail, which helps the manicure last longer. Cure all five nails under your LED lamp for the time your kit recommends, usually 30 to 60 seconds.
Step 2: Cure Under the Lamp
Place your hand flat under the lamp so the light reaches every nail evenly, and keep your fingers still until the timer ends. Do not pull your hand out early, since under-cured gel stays soft and sticky and will peel quickly. If the lamp feels warm, that is normal, and the sensation passes in a few seconds. Most lamps have a sensor that starts automatically when you slide your hand inside.
Step 3: Apply the First Color Coat
Paint your first coat of gel color in a thin, even layer, just as you did with the base coat. Start in the center of the nail and brush toward the tip, then fill in the sides, keeping the polish away from your cuticles. Thin coats are the golden rule of gel nails, since two thin layers always look smoother and last longer than one thick one. Cure under the lamp for the recommended time.
Step 4: Apply the Second Color Coat
Paint a second thin coat of gel color over the first, using the same careful technique. This coat deepens the color and covers any streaks or thin spots from the first layer. If your color is very sheer, you may need a third thin coat, but most colors look perfect after two. Cure under the lamp again for the recommended time, and check that each nail looks smooth and even before moving on.
Step 5: Add Nail Art or Glitter
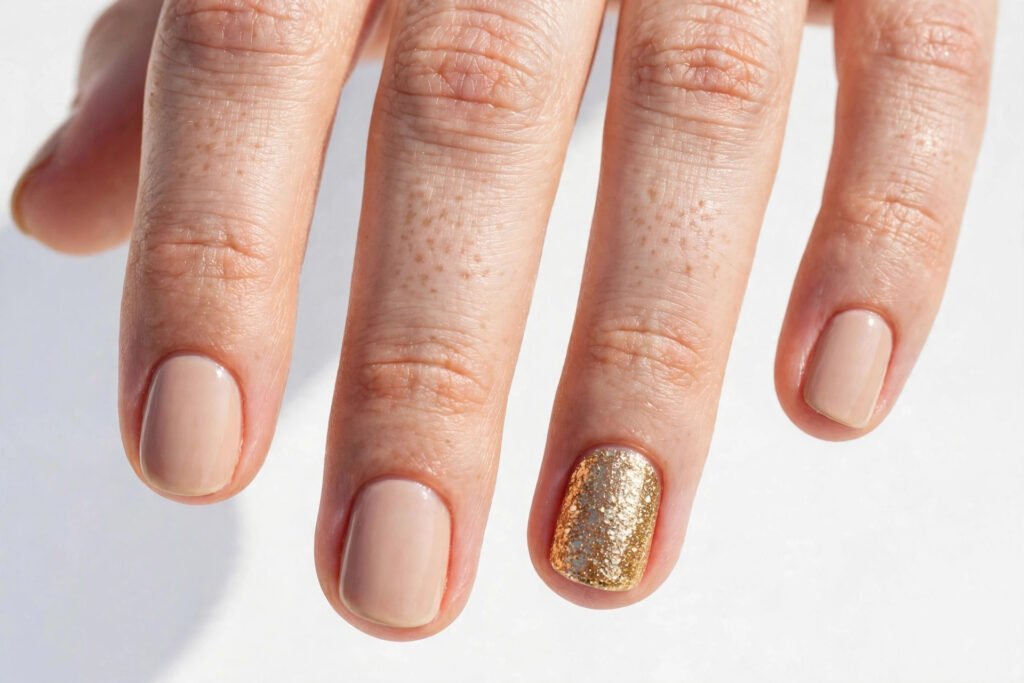
If you want nail art, now is the time to add it, while the color is cured and dry to the touch. Paint simple designs with a thin brush, add glitter with a sponge, or place tiny rhinestones with a toothpick dipped in clear gel. Keep your designs simple for your first few manicures, since gel art takes practice. Cure the art under the lamp for the recommended time so it sets firmly.
Step 6: Apply the Gel Top Coat
Paint a thin layer of gel top coat over every nail, including any nail art, and cap the free edge by brushing along the tip. The top coat seals in the color, protects your art, and gives the manicure its glossy, salon-like shine. Be careful not to flood the cuticles with top coat, since gel that touches the skin can lift and peel. Cure under the lamp for the recommended time, usually 60 seconds for a top coat.
Step 7: Wipe Off the Sticky Layer
After curing the top coat, your nails will feel slightly tacky, which is completely normal. This sticky layer is called the inhibition layer, and it wipes away easily with a lint-free pad dampened with alcohol or nail polish remover. Wipe each nail gently until it feels smooth and glossy, and avoid using cotton balls, since they leave tiny fibers stuck to the gel. Your nails should now look shiny, smooth, and completely dry.
Step 8: Clean Up the Edges
Look closely at each nail and clean up any gel that touched the skin around it. Use a small brush dipped in nail polish remover, or a wooden cuticle stick wrapped in a lint-free wipe, to gently remove any stray polish. This step makes the difference between a homemade manicure and a professional-looking one, so take your time with it. If you find a spot where gel has lifted from the skin, you can file it smooth once the nail is fully dry.
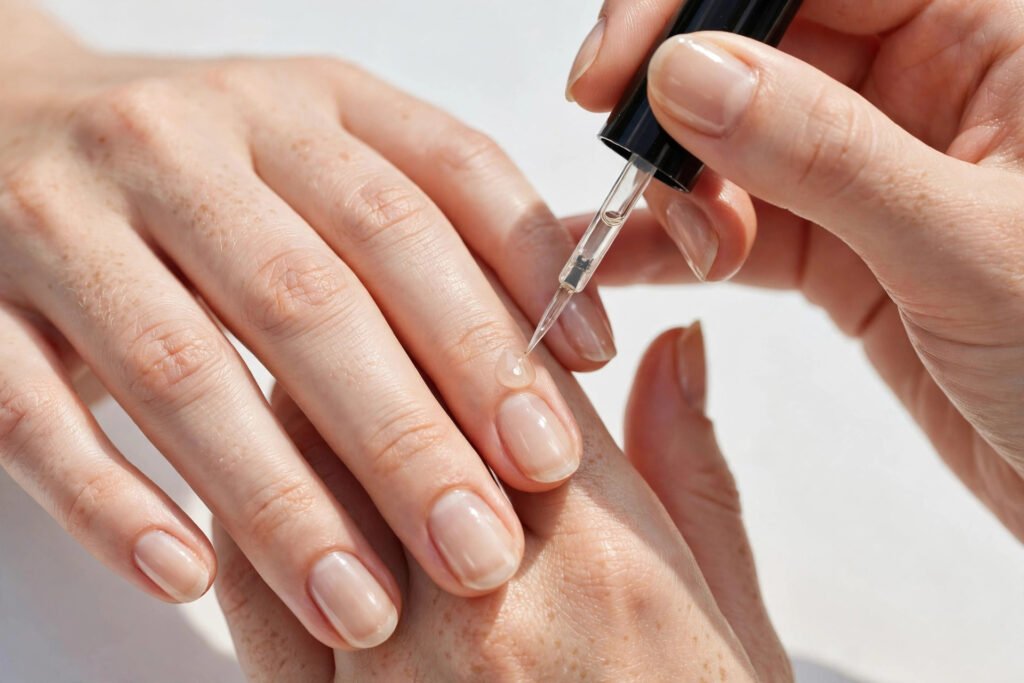
Step 9: Apply Cuticle Oil
Finish your manicure by massaging a drop of cuticle oil into each cuticle and the skin around your nails. The oil moisturizes the skin, makes the manicure look polished and healthy, and helps keep your nails flexible so the gel does not crack. Let the oil soak in for a few minutes before washing your hands, and repeat this step every day to keep your gel manicure looking fresh.
Step 10: Inspect and Admire
Take a moment to check every nail in good light. Look for bubbles, streaks, or spots where the gel is too thick, and note what to improve next time. Your first DIY gel manicure may not be perfect, and that is completely normal. With each attempt your technique will improve, and within a few manicures you will be getting results that look just like a salon.
Common Mistakes to Avoid
The most common beginner mistake is painting the gel too thickly, which stops it from curing properly and causes peeling within a day or two. Always use thin coats and build up color gradually. Another frequent mistake is getting gel on your cuticles or skin, which creates a bridge for water to get under the polish and lift it away, so keep a clean-up brush nearby. Skipping the base coat is another error, since the base coat is what bonds the color to your natural nail. Forgetting to cap the free edge is also common, and it is one of the main reasons gel chips at the tips. Finally, do not skip the preparation steps, since gel applied over oily or dusty nails will lift no matter how carefully you paint it.
Aftercare for DIY Gel Nails
Gel nails last longest when you treat them gently. Avoid using your nails as tools to open cans, peel stickers, or scrape labels, since gel can crack or lift under pressure. Wear gloves when washing dishes or cleaning with harsh chemicals, since hot water and detergents weaken the bond between the gel and your nail. Reapply cuticle oil every day to keep your nails flexible and your cuticles healthy, and avoid picking at the edges of the gel, since picking can tear off layers of your natural nail. If a nail chips or lifts, file the rough edge smooth rather than peeling the whole manicure off, which can damage your nails badly.
How to Remove Gel Nails Safely
When your gel manicure has grown out after two or three weeks, remove it gently rather than peeling it off. File the shiny top coat lightly to break the seal, then soak a cotton ball in acetone, place it on the nail, and wrap it in foil for ten to fifteen minutes. The gel should lift away easily with a cuticle pusher, and any remaining bits can be buffed off gently. Never force gel off your nails, since peeling removes layers of your natural nail and leaves them thin and weak. After removal, moisturize your nails and cuticles well, and give your nails a day or two of rest before your next gel manicure.
DIY Gel Nail Care Tips
A good DIY gel manicure starts with healthy nails, so keep your natural nails in good shape between manicures. Moisturize your hands and cuticles every day, since dry nails are more likely to break and peel. File your nails regularly to keep them neat, and avoid cutting your cuticles, since they protect your nails from infection. Store your gel polishes upright in a cool, dark place away from sunlight, since gel can thicken or cure in the bottle if it gets too warm. Clean your lamp and your tools after each use, and replace old, thick gel polish rather than trying to thin it. With good habits and a little patience, your homemade gel manicures will look better every time.
Frequently Asked Questions
How long do DIY gel nails last at home?
DIY gel nails usually last two to three weeks with good care, which is the same as a salon gel manicure. How long they last depends on your preparation, how thinly you apply the coats, and how gently you treat your hands.
Do I need a UV lamp for gel nails at home?
Yes, gel polish needs a UV or LED lamp to cure and harden. Without a lamp, the gel stays wet and sticky and will never set properly.
Can beginners do gel nails at home?
Yes, beginners can absolutely do gel nails at home. The process is simple once you understand the steps, and most people get good results within their first two or three attempts.
Is DIY gel bad for your natural nails?
Gel nails are safe for your natural nails when applied and removed correctly. The damage most people blame on gel usually comes from peeling it off, which tears away layers of the natural nail.